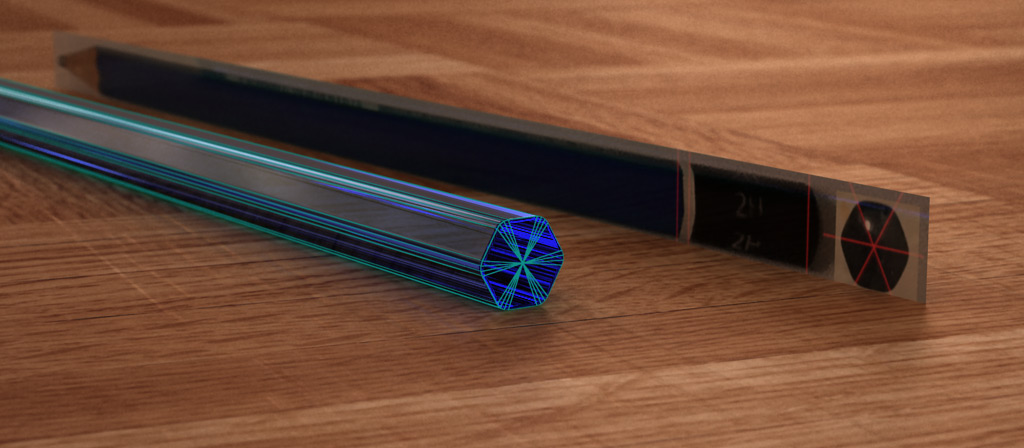
The Pencil geometry is basically an elongated hexagon.
 Right-click and save link here to save the high-res schematic.

The only difference between a pathetic 3D pencil model and a decent one lies along their edges.
As a general rule, the more fillet edges your model has, the more it will “magically” look real.
The reason is due to the beautiful highlight your model catches when you place a light next to it, that “highlight” is where the realism is.
Then chamfer the 6 edges until you get this:
 There are many ways to achieve this, for 3DS Max users, there is the Gengon primitive, for other more spine-based modeling programs, you could drag out a Hexagon spline, fillet the corners and extrude from there.
Proceed to drag out a cylindrical primitive and start shaping it to match the pencil’s round lead by adding more loops to the top of the cylinder and pulling/pushing them to get that round tip.
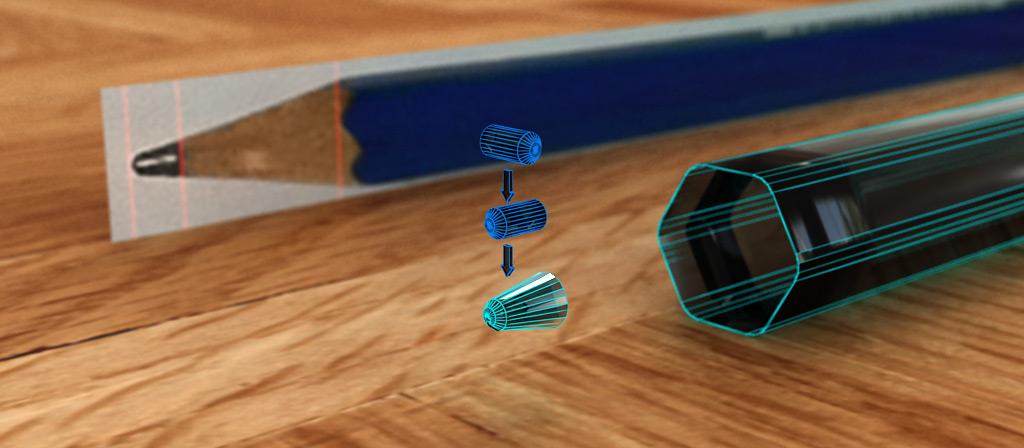 Make sure that the number of segments matches that of the pencil’s body because you will be connecting the edges together in the next step.
Now “Bridge” the two geometries together.
 In 3DS Max, there is the Bridge tool in Edit Poly, for other 3D applications, simple create polygons between the edges to “Bridge” them.
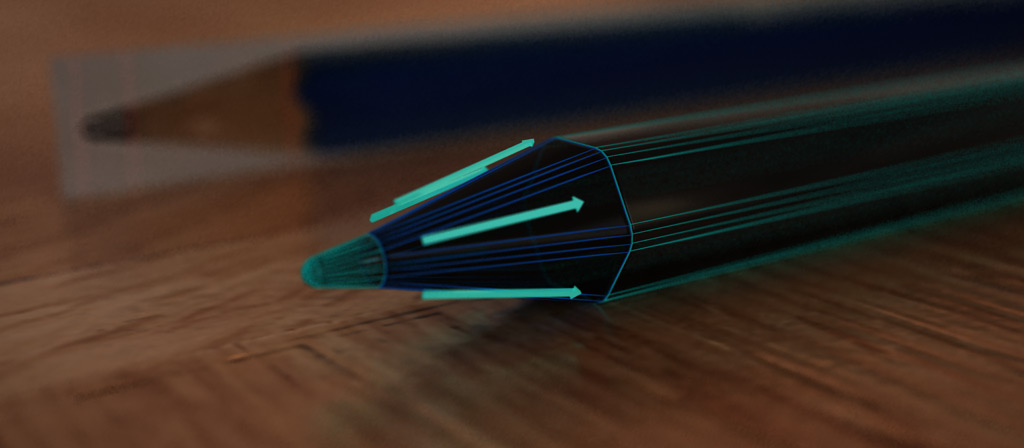
Finally, we move on to the back of the pencil.
What we want here is a smooth transition from the hexagon hard edge to the round off butt of the pencil.
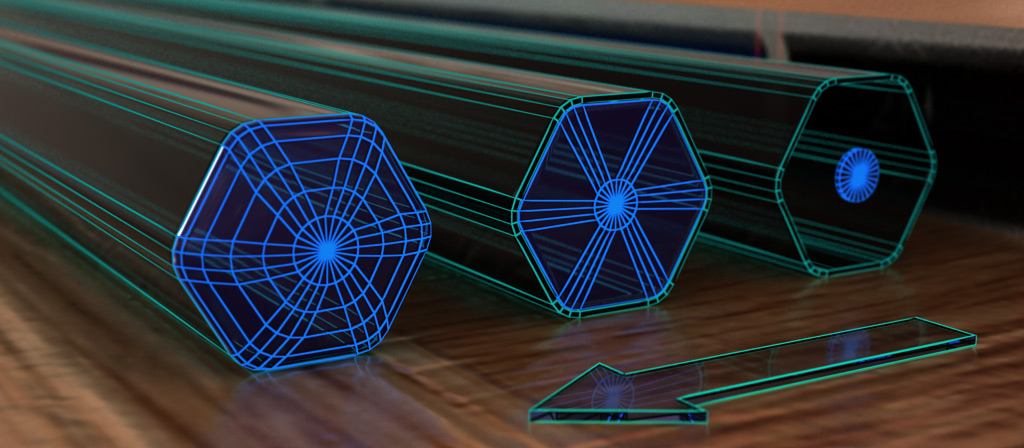
To achieve the perfect smooth concave look, create a flat circle primitive [right-most model] and “Bridge” the two geometries together [second model].
Remember to match the same number of segments like inthe previous step to facilitate the bridging.
Add in more refinement loops to help the edges transit from the hexagon shape to the circle and then proceed to push/pull them to create the final round off look [left-most model].